TOYROLLCODE · TOOL PHOTO GUIDE
A clear photo. An easier review.
Preparing a Toyota or Lexus rolling code request? A readable photo helps us autofill your tool data. You still check the VIN and every data line before sending.
By ToyRollCode · Updated October 22, 2026
1. Photograph the current tool screen
- Use the screen from the programming session you are working on now. Avoid an old screenshot from a previous attempt.
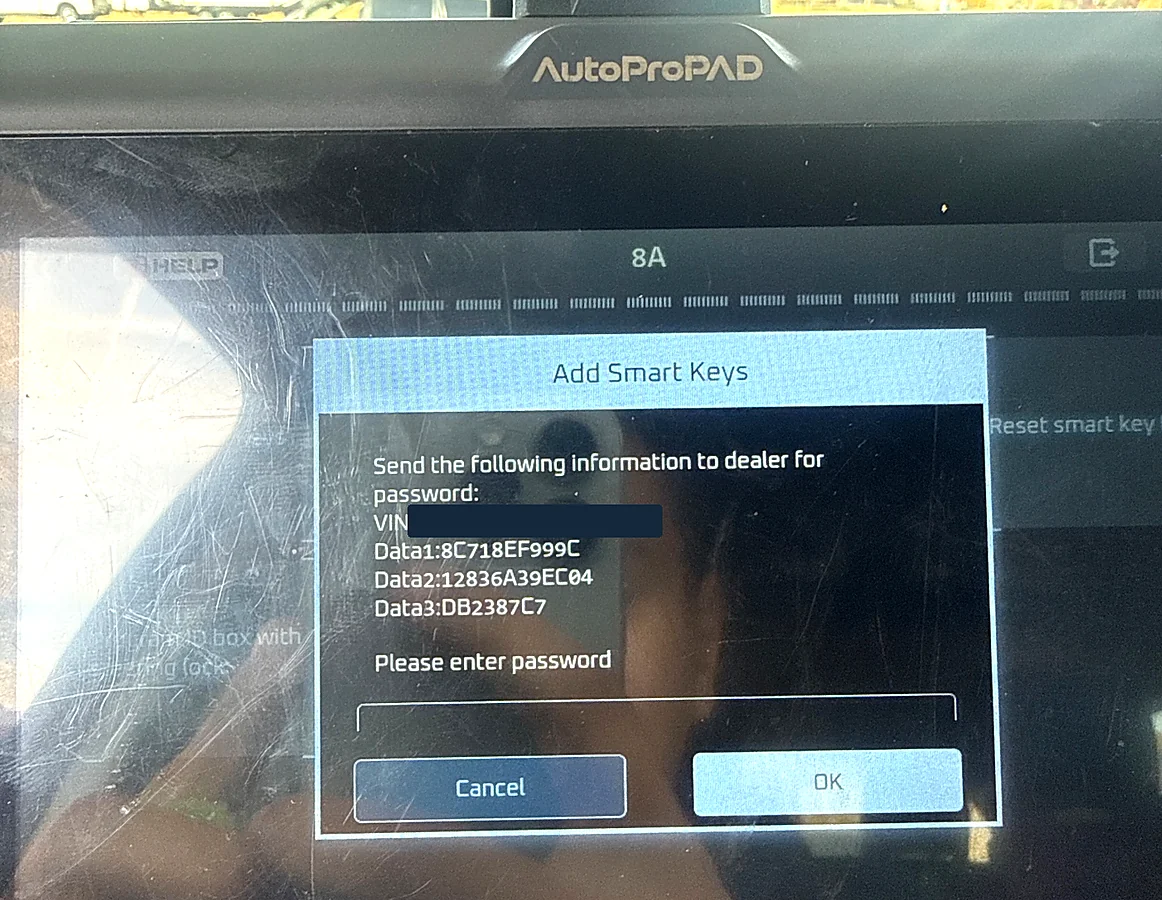
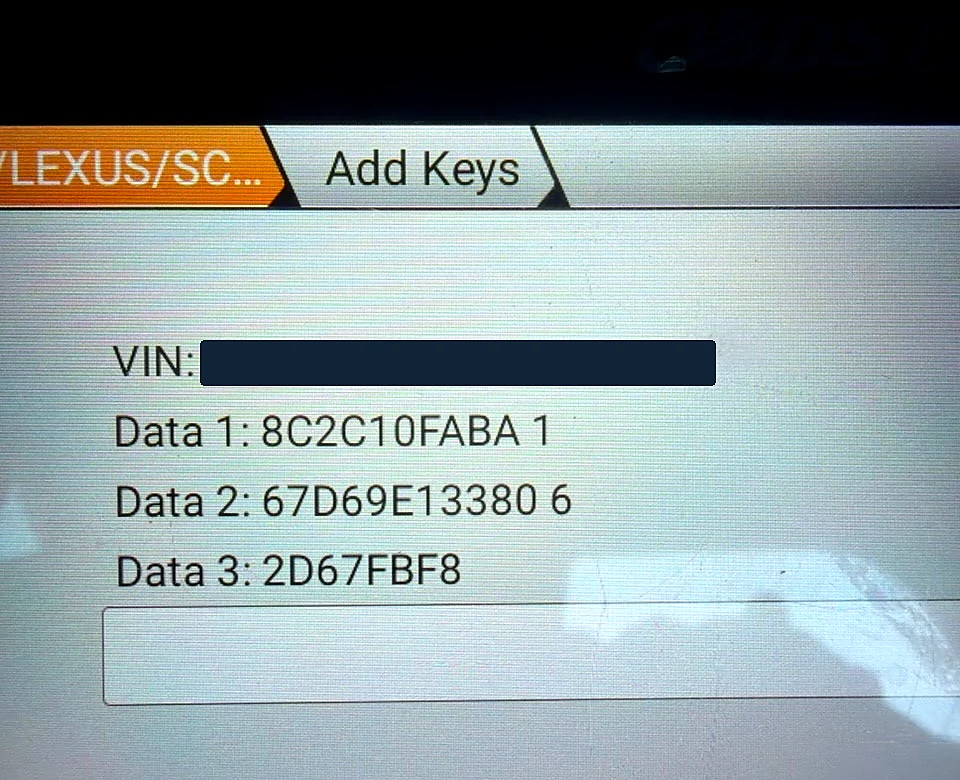
- Fill the frame with the screen, hold it upright and tap to focus. Keep VIN (if shown), Data 1, Data 2 and Data 3 visible, including the first and last characters.
- Include every wrapped line. A letter or number on the next line may continue the value above; do not leave it out.
- If a reflection covers a character, move the phone slightly or shade the screen. Do not edit or guess a hidden character.
In Photo tips, you can optionally identify the tool before choosing your photo. Leave Not specified if you are unsure. This labels that photo; it does not change your account or request data.
2. Keep the VIN separate when needed
A screen showing VIN: Manual input has no VIN to read. Upload the tool photo for its data, then choose Add VIN photo or enter the 17-character VIN yourself. A windshield plate or door-jamb sticker can provide the VIN.
If the VIN is present but unclear, use a sharper VIN photo or check and enter each character. Keep all 17 characters visible. Adding a VIN photo keeps your existing Data 1, Data 2 and Data 3.
Make sure the VIN and tool session belong to the same vehicle. One clear photo of each is more useful than a distant photo trying to include everything.
Real uploaded tool screens
These AutoProPAD and OBDSTAR examples came from customer uploads. Their VINs are hidden here. Your own request must include the correct VIN.
3. Review the autofill beside your photo
Compare the VIN, Data 1, Data 2 and Data 3 with the original screen. Autofill helps with typing; it does not replace your review. Correct any misread character, confirm the job type and complete the final review checkbox.
If a required line is missing from your tool screen, contact support before buying a request or activating a token. What a tool displays can vary by vehicle, key system and programming session.
4. Check the session again before submitting
If you stopped to pay, restarted the tool or began another programming session, compare the current screen again. If the data changed, take a new photo and review the new values before submitting. A previous session's code may not match the current session.
Choose the purchase that fits the job
A single-code token costs $10 and covers one submission for one VIN. A $20 VIN token covers unlimited requests for one VIN for 48 hours from activation. Buying an unused token does not start that 48-hour clock.
Each new programming session still needs fresh tool data, even when an active VIN token covers it. Codes appear in your account and are sent to your verified email.
Start your request →